View all Business Tips and Guides
Clients, Appointments, Scheduling, and Reminders
Start by adding your clients
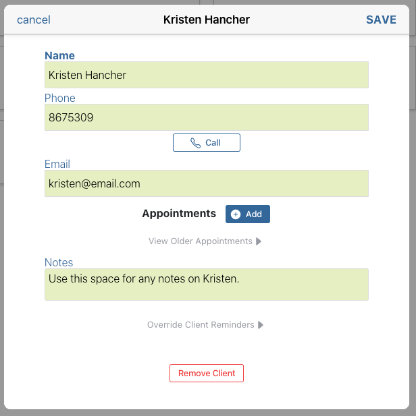
After registering, navigate to the Clients page in the app and start adding your clients. At a minimum, you’ll want to key in their name but adding their phone and email will allow you to access their contact information from one place. Additionally, you can add notes such as your latest conversation, latest merchandise order, or hair color combination.
Setup your availability
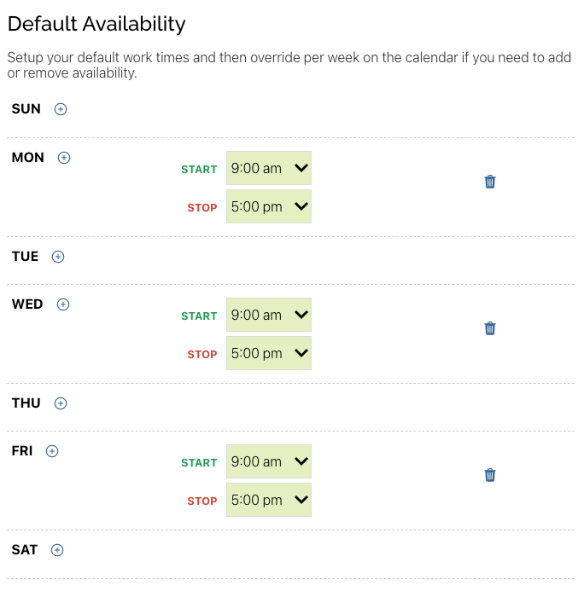
Next, navigate to the Setup > Setup Scheduling and update your Salon’s profile. Your address information will be pulled from your Business details and you can then add a description, links to your social media accounts, and a profile picture. Then enter in your default availability if you have a set schedule that you stick to, this will allow clients to submit appointments against that availability time slot. Finally, add a few services with set durations so you can reserve enough time for the type of appointment.
Clients view your Salon on https://schedule.salon
In partnership with https://schedule.salon your profile will be available for clients to view your profile details and request appointments for the available slots you have setup. You have the choice of letting new clients register, or only existing clients. For this to work, it checks the request against existing client’s phone numbers and emails.

Accept or reject appointment requests
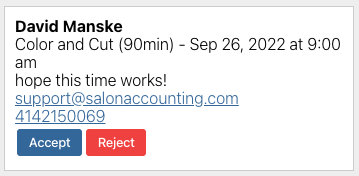
You will receive an email to let you know a client has requested an appointment and you have the choice to accept or reject the appointment. Additionally, you can choose to send an email to the client or accept it quietly and call the client yourself.
Customize appointment reminders
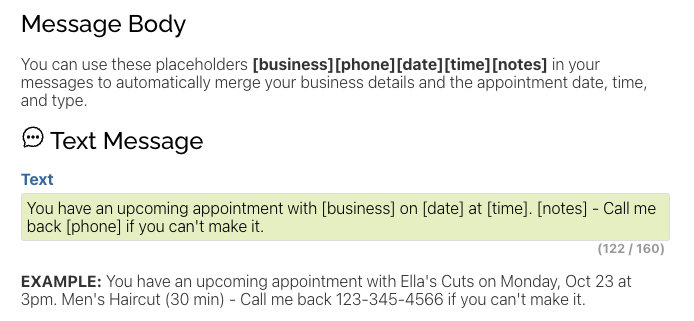
We’ll automatically send out email or text message reminders to your clients for upcoming appointments. There is a default message template but you can update it for your own messaging/voice by navigating to Setup > Appointment Reminders.
